The guide
A contact sheet shows the whole shoot at once, and that is still the quickest way to choose
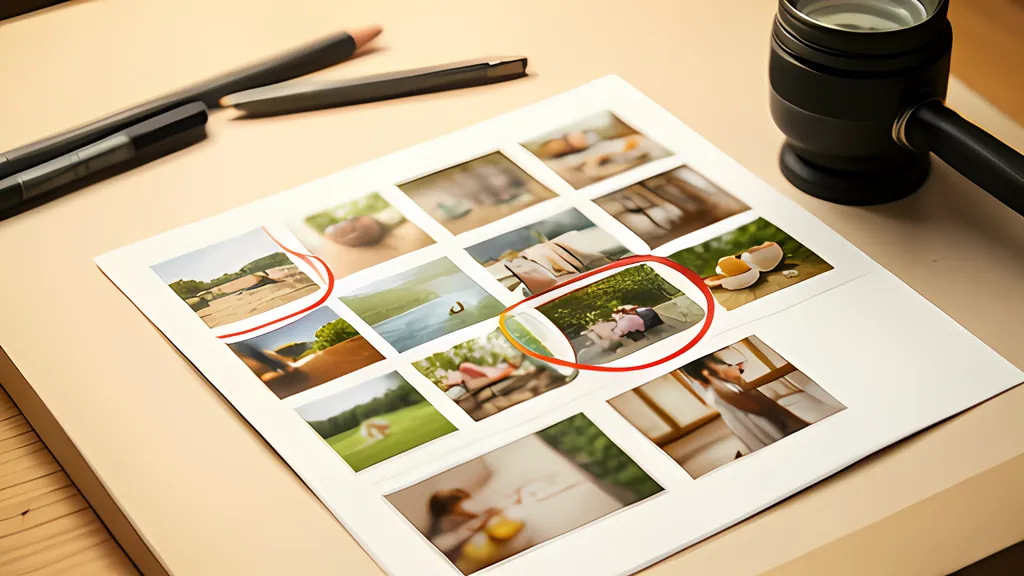
The darkroom proof sheet lives on as a grid of thumbnails because one page answers three questions: what was shot, in what order, and which frames deserve a second look.
- 420 x 372 px one frame box on a Letter sheet of 30, at 300 dpi
- 10 sheets what 300 photos need at 30 frames to a sheet
- 1 to 8 the values the Exif orientation tag can hold
- 64 KBytes the most one Exif segment in a JPEG file can record
- tag 34853 the pointer to the location block, which the tool never follows
Read the full guide Fold the guide
A roll of film came out of the developing tank as a strip of small negatives, tones reversed and hard to judge. Before anything could be chosen it had to be seen. The answer was to print the whole roll at once, by contact, onto a single sheet of paper.
A contact print needs no enlarger. The film lies emulsion side down on a piece of photographic paper, light is shone through it briefly, and the paper is developed. Each picture comes out exactly the size of its negative. Whole rolls of 35 mm and 120 film were proofed this way, to help select images for enlargement and to catalog and identify them.
That one sheet did three jobs. The United States National Archives describes the first two: the sheet was a photographer’s first opportunity to see a positive image of each exposure, and the place to choose which frames to enlarge, develop further or discard. The third is the cataloging already mentioned: the sheet stays behind as a record of the whole roll. First look, working document, archive. All three jobs outlived the darkroom, and a grid of thumbnails on paper still does them better than a screen that shows one picture at a time.
A page you can read at a glance
Choosing is comparing. A frame is only the best of a sequence when the sequence is in front of you, and a sheet puts thirty frames inside one field of view. The National Archives notes what else that gives a later viewer: insight into the photographer’s approach to a scene and the thinking behind the sequence of shots. Near misses stay visible beside the keeper.
The pictures were small, so the sheet’s companion was a magnifying glass. Economy was the point. Nobody enlarged every exposure. The sheet cut the time spent on frames that did not deserve it, and it was where best got decided.
Marks made the decision durable. A sheet that has been marked up for printing can be handed to a printer, an editor or a client, and it says the same thing a year later. A loop drawn round a frame is the plainest such mark, and it is the one the tool on this page draws, red on white paper and yellow on black. It can also print the circled frames alone, which turns an editing sheet into a sheet of selects.
The archive speaks of all this in the past tense, and the reason is plain. A digital camera shows each picture the moment it is taken, so nobody needs a proof to learn what is on the roll. The other two jobs did not go away with the film. Frames still have to be compared, marked and kept.
What the camera wrote down
A digital file brings something no negative had: a note from the camera about how the picture was made. The format is Exif. It was developed by a Japanese electronics industry association and has been managed jointly with the Camera and Imaging Products Association since 2009. In a JPEG file it travels in one of the marker segments that the JPEG standard reserves for applications, placed straight after the start of the file, and that segment cannot record more than 64 KBytes.
Inside is a small TIFF structure: a header that declares the byte order, then lists of numbered fields. A contact sheet wants only a few of them. Make and model. The date and time the picture was taken, written as year, month, day, hour, minute and second. The exposure time in seconds, the F number and the sensitivity. And the focal length of the lens in millimeters, which the standard says is not converted to the focal length of a 35 mm film camera.
What the record leaves out matters as much. The date tag carries no time zone. The 2012 edition of the standard has no field for one, current tag lists show a separate offset tag for the purpose, and many files lack it, so two cameras on one job can disagree by an hour or by a continent. Exif is also mostly about the camera. It has fields for a description, an artist and a copyright line, but the fuller account of what a picture shows and who owns it belongs to another standard, IPTC Photo Metadata, which its publisher calls the industry standard for administrative, descriptive, and copyright information about images.
Reading these fields is safe only if the reader distrusts them. A length can claim more bytes than the file holds and an offset can point anywhere. So the reader checks every number against the end of the segment before it touches a byte, and a photo with damaged or missing Exif simply shows less under its frame.
A tag instead of a turn
Turn a camera on its side and the stored rows of pixels need not turn with it. The standard lets the camera write them as they are and add one number that says which way is up. That number is the orientation tag. Its values run from 1 to 8, and each is defined by where the first stored row and the first stored column lie in the picture as it should be seen. Value 1 puts them at the visual top and the left-hand side. Value 6 puts the first row on the visual right-hand side, so the stored picture needs a quarter turn clockwise before it is seen upright.
Software then has to honor the note. Browsers do so by default: the CSS specification gives the image-orientation property an initial value of from-image, which means the angle that metadata such as EXIF specifies. An image library usually has to be asked. The Pillow library’s exif_transpose function spells out what a complete repair involves: if an image has an EXIF Orientation tag, other than 1, transpose the image accordingly, and remove the orientation data.
Forget the second half and the picture gets turned twice. Forget the first and a whole wedding lies on its side. A contact sheet is a good place to catch the mistake, because one sideways frame among thirty upright ones is obvious. The tool applies the tag as it decodes each photo, so verticals stand upright. It also offers to lay them on their sides, as they lay on a strip of film, so that they fill a wide cell.
How many pixels a small picture needs
Printed size and pixel count are tied together by one number. The digitizing guidelines of the United States National Archives insist that it is always necessary to provide both the resolution and the image dimensions, and give 300 ppi at 8 by 10 inches as the example. The same document describes a 3,000 by 2,000 pixel image as 300 ppi at 10 by 6.7 inches. The GIMP manual adds a warning worth repeating: output resolution is not the printer’s resolution in dots per inch, because several dots are used to print a pixel.
Here is a worked example, which the tool reproduces with its opening settings. Take US Letter paper upright, 8.5 by 11 inches. Give it half-inch margins, a header line, five columns, six rows, an eighth of an inch between cells and two caption lines of 7 point type. The space left for each picture is 1.40 by 1.24 inches. At 300 dpi that box is 420 x 372 px, and a whole 3:2 frame fitted inside it uses 420 by 280 of them. Three hundred photos fill 10 sheets.
So a thumbnail needs about a tenth of a megapixel, and a 24 megapixel file holds some two hundred times more than that. The work lies in discarding pixels well and never holding them all at once. Each photo is decoded straight to the small size it needs and then released. Put two photos on a sheet instead of thirty and the box grows to 7.5 inches wide, which takes 2,250 pixels, so each file is opened again at that size when the sheet is exported.
Paper follows purpose. For editing, crowd the page: thirty or forty-two frames, a file name and a frame number under each, the exposure line if technique is in question, and white paper that takes a pen. For a client, do the opposite. Print only the circled frames, six or twelve to a sheet, with a title and nothing technical. A4 is 210 by 297 mm and Letter is 8.5 by 11 inches, close enough that one grid suits both.
What stays off the sheet
One part of Exif deserves separate treatment. Beside the camera fields, the standard defines a block of GPS tags, among them latitude, longitude, altitude and the direction the camera faced. The Electronic Frontier Foundation described the consequence in 2012: the coordinates of where a picture was taken were embedded in its metadata, and investigators used the coordinates in one phone photo posted online to find the person who took it.
A contact sheet is made to be passed around, so it should not carry that. The reader here follows one pointer, to the camera fields, and passes over the other, tag 34853, without opening what it points to. The sheets are freshly drawn pixels with captions painted on, and they hold no metadata from the photos at all. The originals are untouched, which also means they still contain their coordinates. Sharing the sheet is safe. Sharing the files is a separate decision.
There are limits, and they should be said plainly. A frame an inch and a half wide cannot show whether focus landed on the eyes, so a sheet of selects is only as good as the full-size check that follows it. The tool reads Exif from JPEG files only; PNG, WebP and raw files get a name and a number and nothing more. It trusts the camera clock, which may be wrong. It does nothing about color for print, and a sheet from an office printer will not match a calibrated screen.
None of that argues against the sheet. It argues for using it as photographers always did: a first look, a place to make marks, and a record to keep with the job.
Sources
Every source consulted for this guide. Links checked October 3, 2026.
- Photographic Prints in the Still Picture Branch U.S. National Archives and Records Administration
- Contact print Wikipedia
- Exchangeable image file format for digital still cameras: Exif Version 2.3 Camera & Imaging Products Association (CIPA DC-008-Translation-2012)
- Exif Exchangeable Image File Format, Version 2.2 Library of Congress, Sustainability of Digital Formats
- Information technology - Digital compression and coding of continuous-tone still images - Requirements and guidelines (Recommendation T.81) International Telecommunication Union (CCITT), copy hosted by W3C
- EXIF Tags ExifTool by Phil Harvey
- GPS Tags ExifTool by Phil Harvey
- Photo Metadata International Press Telecommunications Council (IPTC)
- CSS Images Module Level 3 World Wide Web Consortium (W3C)
- image-orientation CSS property MDN Web Docs
- HTML Standard WHATWG (the ImageBitmap interface)
- ImageOps module Pillow documentation
- Technical Guidelines for Digitizing Archival Materials for Electronic Access: Creation of Production Master Files - Raster Images U.S. National Archives and Records Administration
- 6.20. Print Size GNU Image Manipulation Program User Manual
- CSS Paged Media Module Level 3 World Wide Web Consortium (W3C)
- CSS Values and Units Module Level 3 World Wide Web Consortium (W3C)
- A4 paper format / International standard paper sizes Markus Kuhn, University of Cambridge Computer Laboratory
- A Picture is Worth a Thousand Words, Including Your Location Electronic Frontier Foundation